


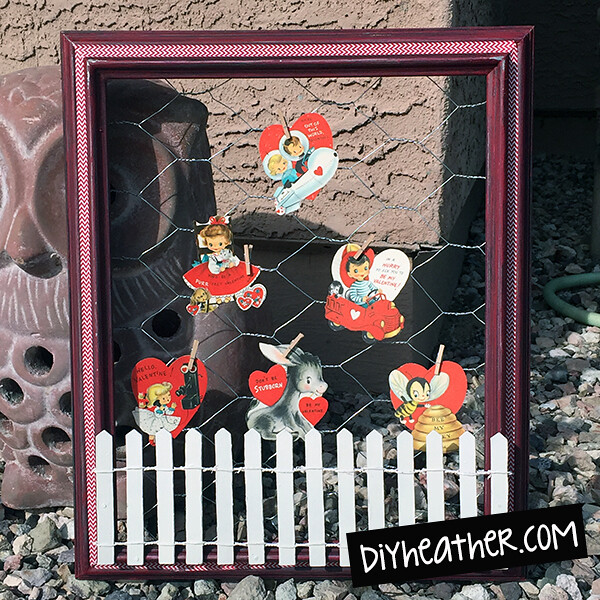

When I announced my "comeback," I expected to have shared much more by the close of this month. The gross virus that plagued my house had other plans. My husband and I were super sick which meant I did zero crafting, thrifting, and my cooking/baking was limited to soup-- in the can. Now that I'm back at it, I'm happy to share this quick project I did the other day while I was really feeling Valentiney vibes.
You will need
- Wooden frame without glass or backing
- Paint (optional)
- Clear spray shellac
- Chicken Wire
- Wire cutters
- Needle nose pliers
- Staple Gun
- Washi Tape
- Mini wooden fence decor
- A few small nails
- Hammer
- Clothespins
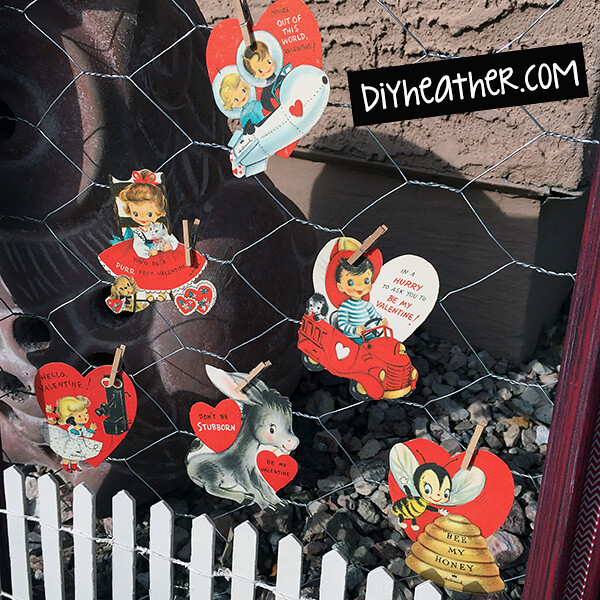
- Vintage Valentines
- Paint your frame. I used Craft Smart brand acrylic paint in "Holiday Red" from Michael's craft store. My frame was originally black, so I used an old crummy brush and long messy strokes to give it a darker and aged feel. A second coat would give a brighter, fuller paint job. Let dry.
- Flip your frame over and attach chicken wire with staple gun. Use pliers to curl/twist loose wire ends so they won't poke you when handling the frame in the future. Use hammer to help flatten stubborn wire ends against wooden frame backing. I did this process on my cement garage floor and the movement and pressure rubbed off some of my red paint from edges and corners, giving it an aged and shabby look.
- Flip frame back over and spray with shellac to seal paint. I used Valspar clear satin spray paint which seals and protects. It gave my paint job a tiny shine to it that I really like. Let dry.
- The frame I used had may ridges, edges, and valleys-- making washi tape placement easy and perfect. It also helped pull my color scheme together since the valentines are very bright and the painted frame is darker. Washi tape can be expensive, but I always get mine from the Target dollar section and I've acquired a collection throughout the years. You can't beat a dollar a roll.
- Attach wooden fence to front of frame using small nails. You can use hot glue but nails will make the overall piece sturdier. Secure the outer two pickets to the frame sides and attach two or three pickets to the bottom of the frame as well. Use a dab of paint to hide nail heads if desired. I've purchased most of my picket fencing decor from Jo-Ann stores over the years.
- Attach your favorite valentines to your frame using clothespins. I bought these valentines from San Diego Vintage on Etsy back in 2012. They're the cutest vintage Hallmark valentines from the '50s. My mini clothespins came from the dollar section at Target.
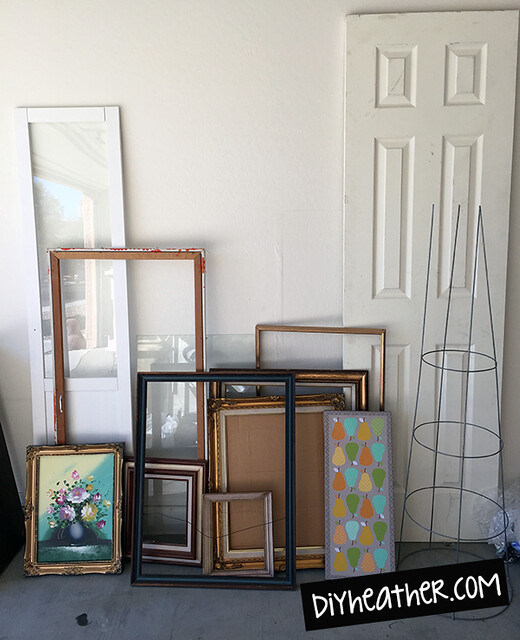
AND YOU'RE DONE! Pat yourself on the back for another cute project that was fast and easy. This also makes a great homemade gift for the girl in your life who loves all things shabby and vintage. As you can see, I have more projects up and coming! If you're having a hard time finding frames for projects like this one, try hitting up Goodwill every other Saturday when they do their 50% storewide sales. I find some gorgeous frames that way. If I don't need the glass or backing, I'll save it in case I someday find a frame that I'll need it for. My area also has a Goodwill clearance warehouse where you fill up a cart and pay by the pound. I found at least a dozen frames, antique dolls, and books and more for only twenty bucks! I also sometimes find "AS IS" frames on an endcap at my local Michael's near their framing department. They usually are just the wooden frame and can be overpriced, so also keep Goodwill in mind as I mentioned before.
As always, feel free to ask me ANY questions about this project or others. I love to hear from you, I promise!

Follow me on bloglovin
Follow me on instagram
Follow me on pinterest
Follow me on facebook
Follow me on flickr
Follow me on google+


